Physical Address
304 North Cardinal St.
Dorchester Center, MA 02124
Physical Address
304 North Cardinal St.
Dorchester Center, MA 02124
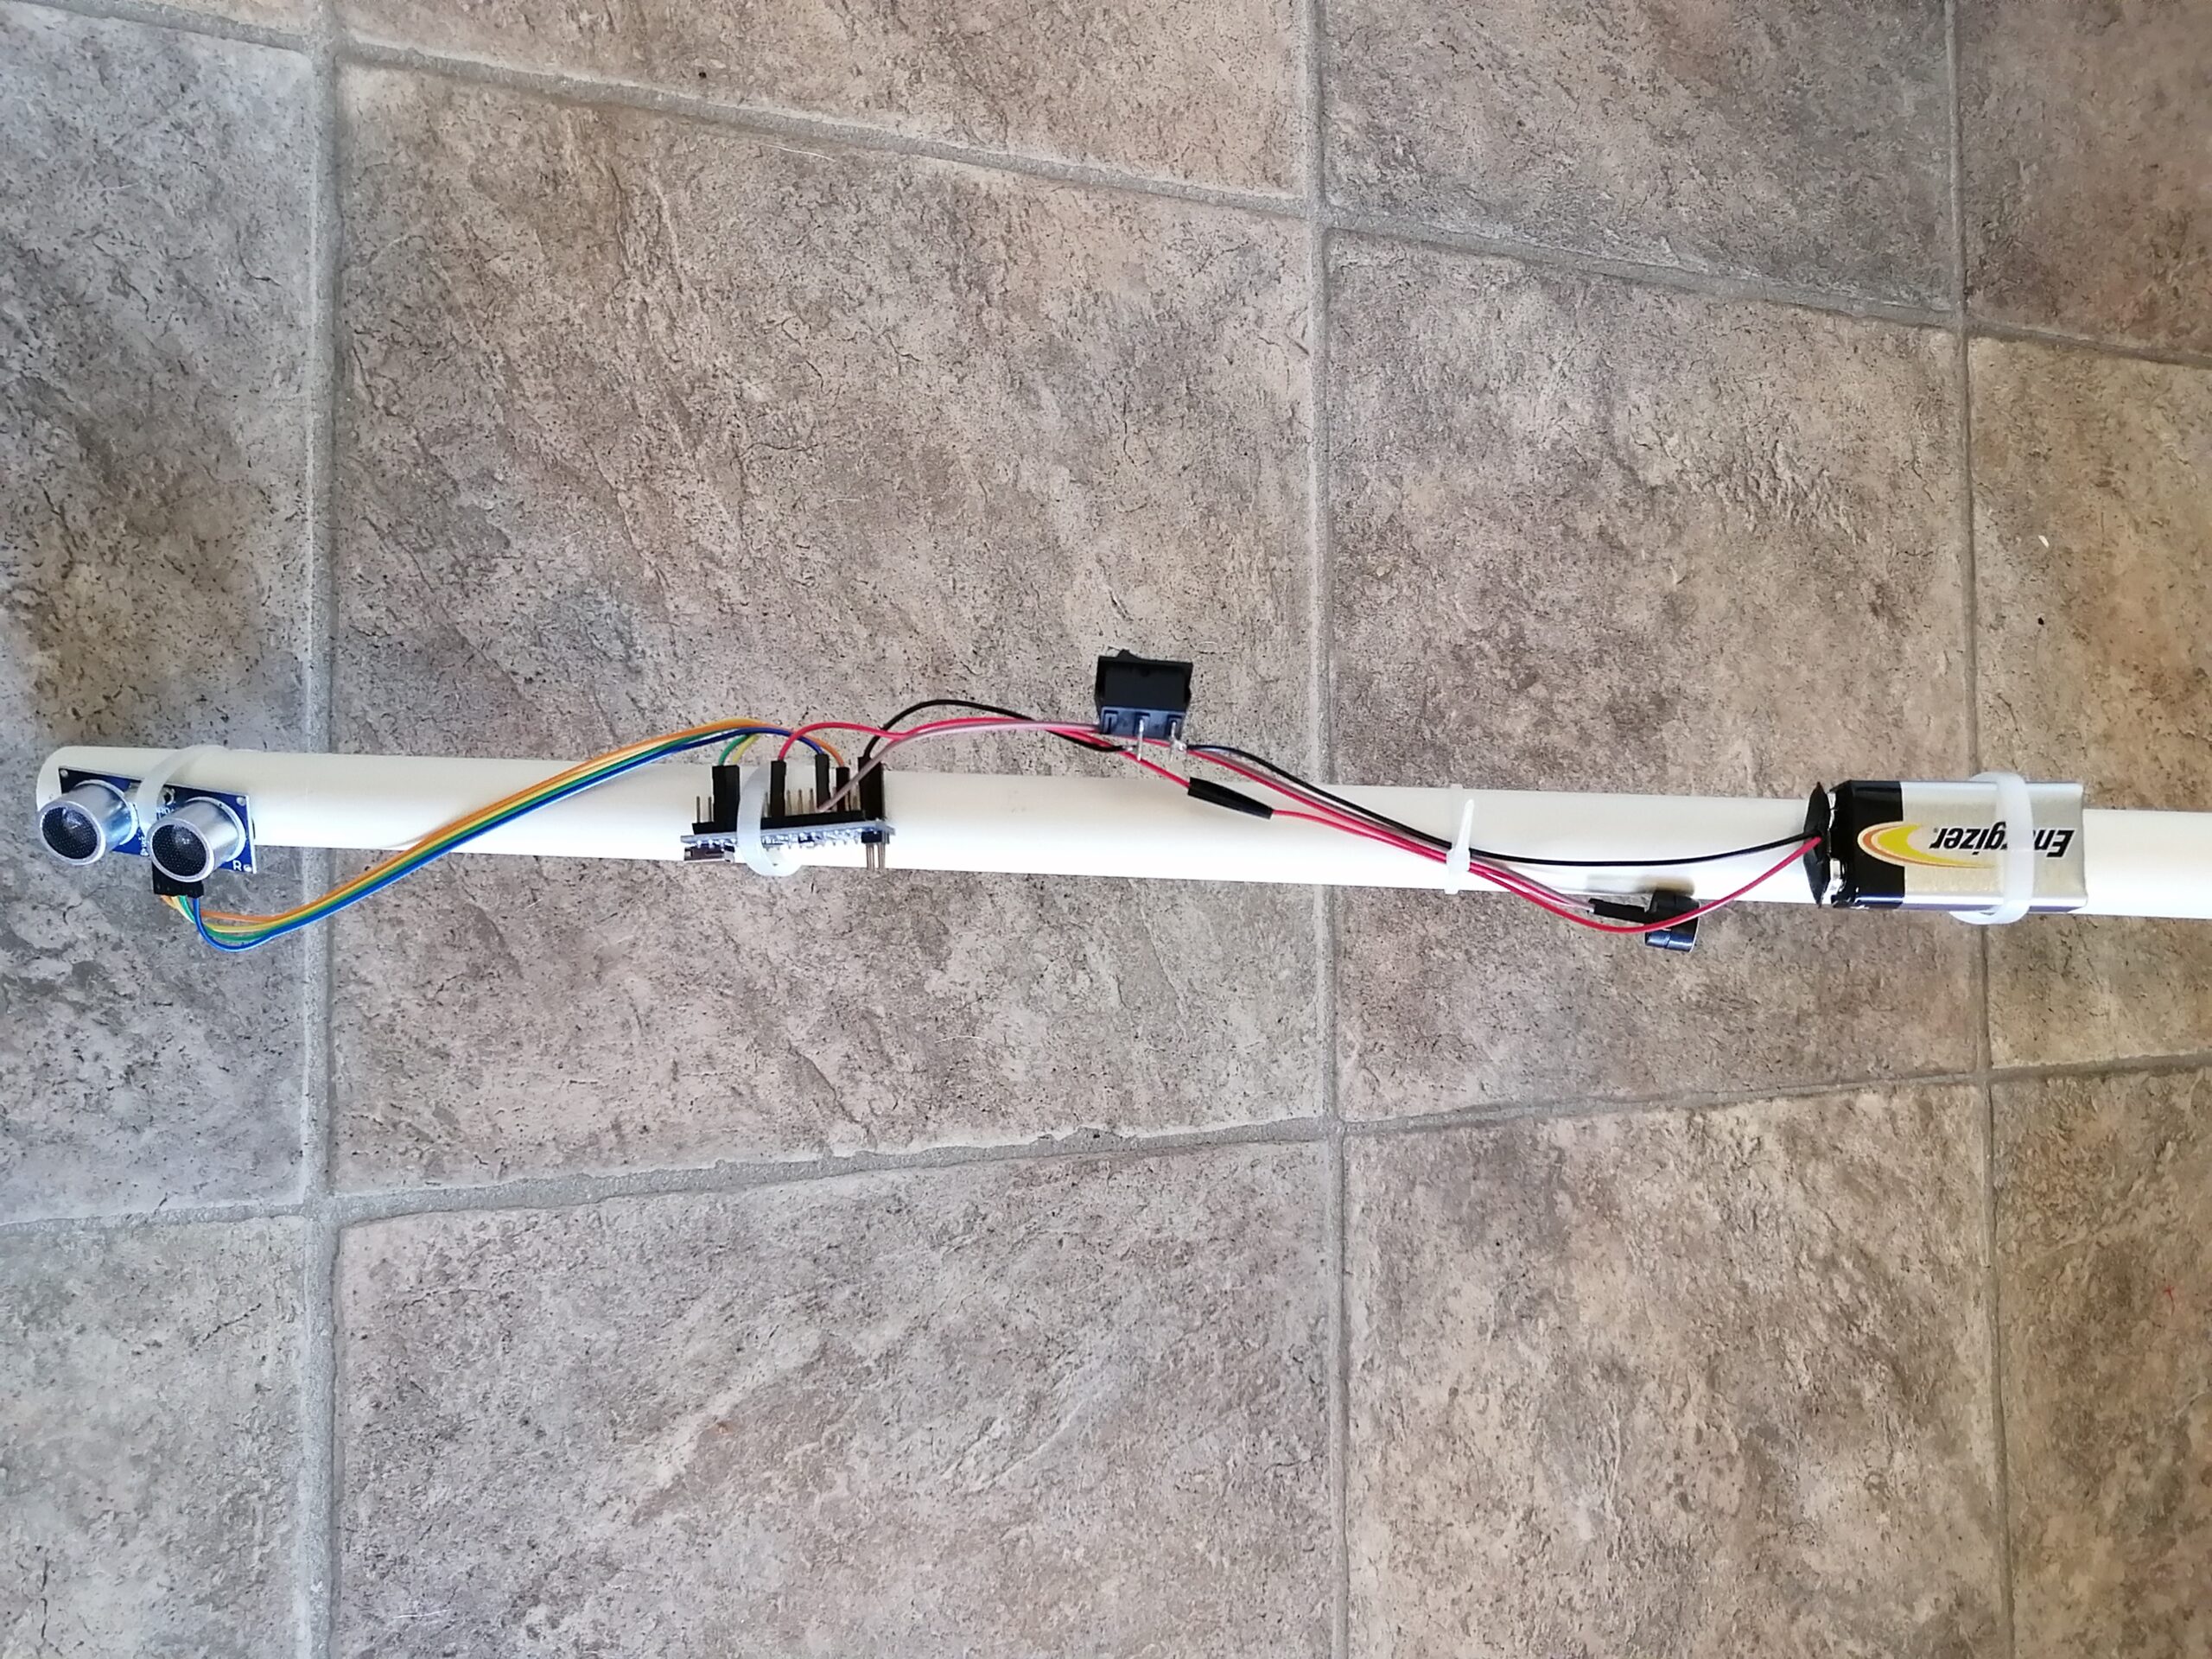
In this project, we will make a smart blind stick for the blind person using Arduino and ultrasonic sensor.
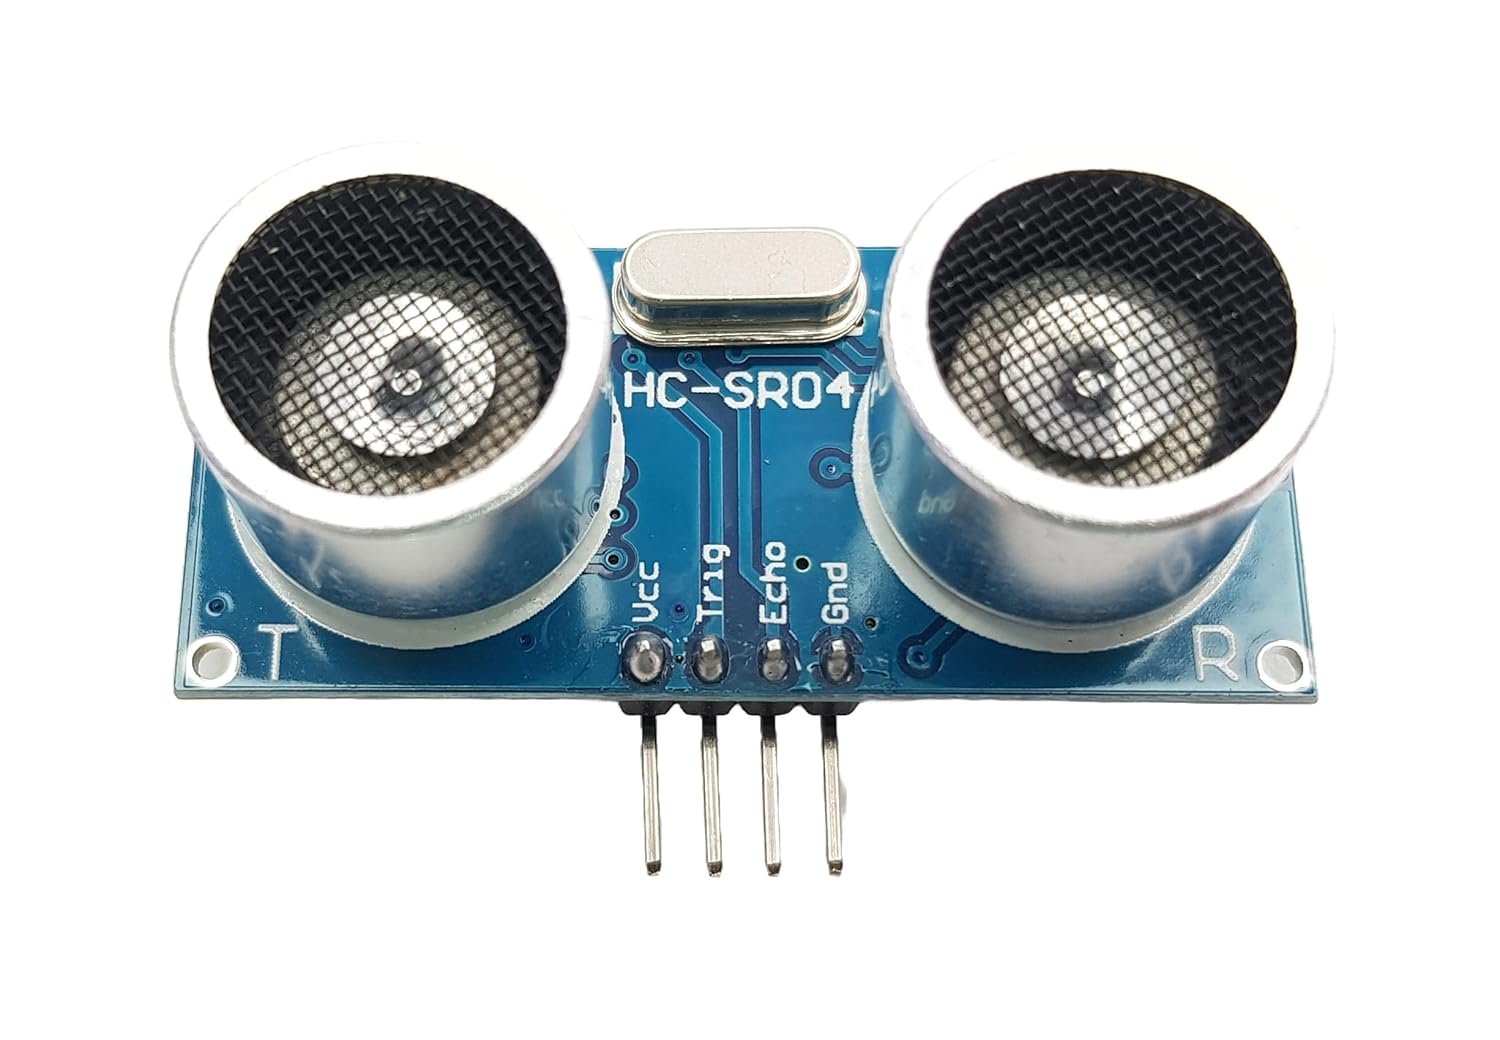
An ultrasonic sensor is a device that uses high-frequency sound waves (ultrasound) to detect objects, measure distances, or detect changes in the environment. It emits sound waves and measures the time it takes to bounce off an object and return to the sensor.
Visit Exploring the Power of Ultrasonic Sensors: A Brief Introduction for more information.
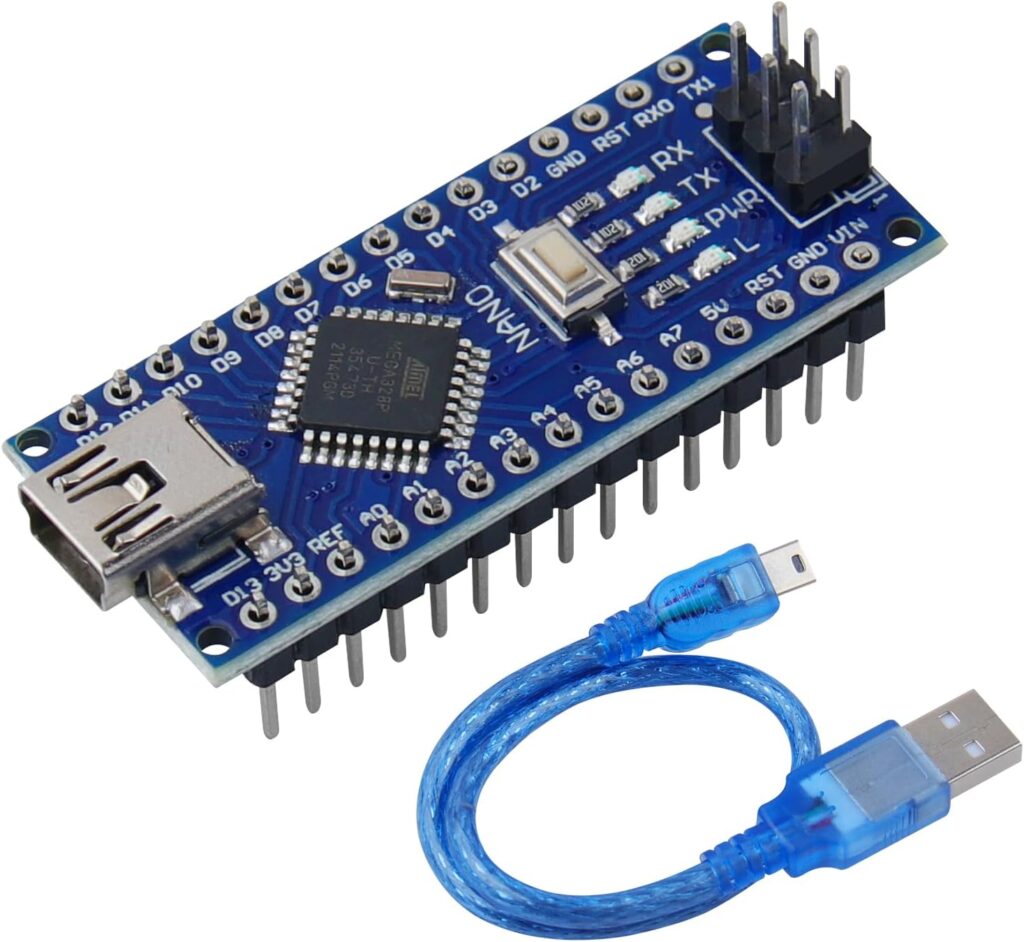
For more information, visit What is Arduino Nano? A Beginner’s Guide.



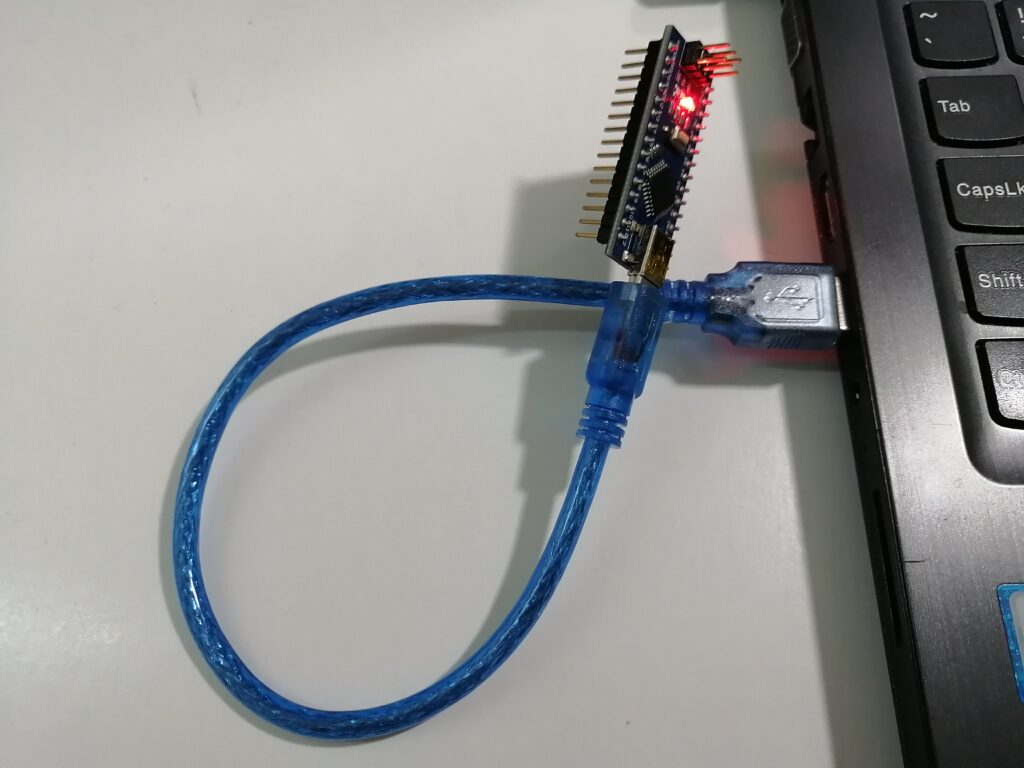
Connect the Arduino to your computer using a USB cable. Upload the program to the Arduino through the IDE software. Visit Getting Started with Arduino IDE: A Beginner’s Guide to Coding and Creating for more information.
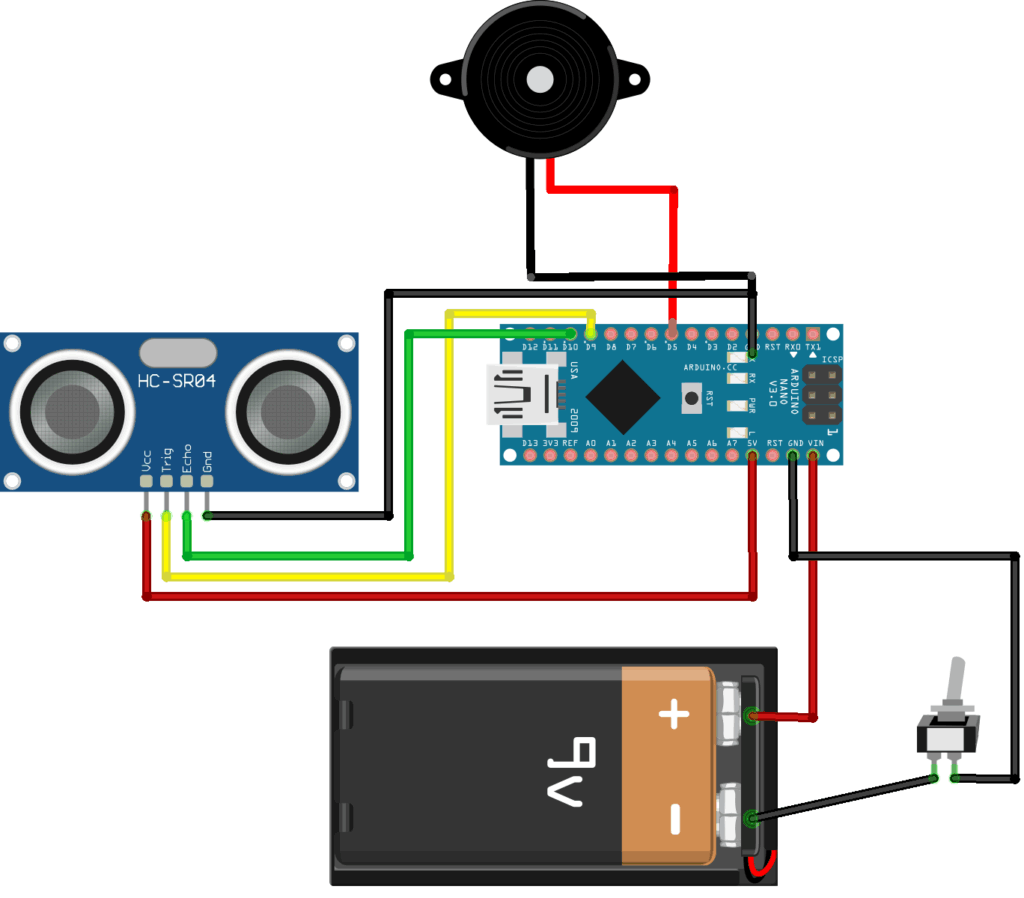
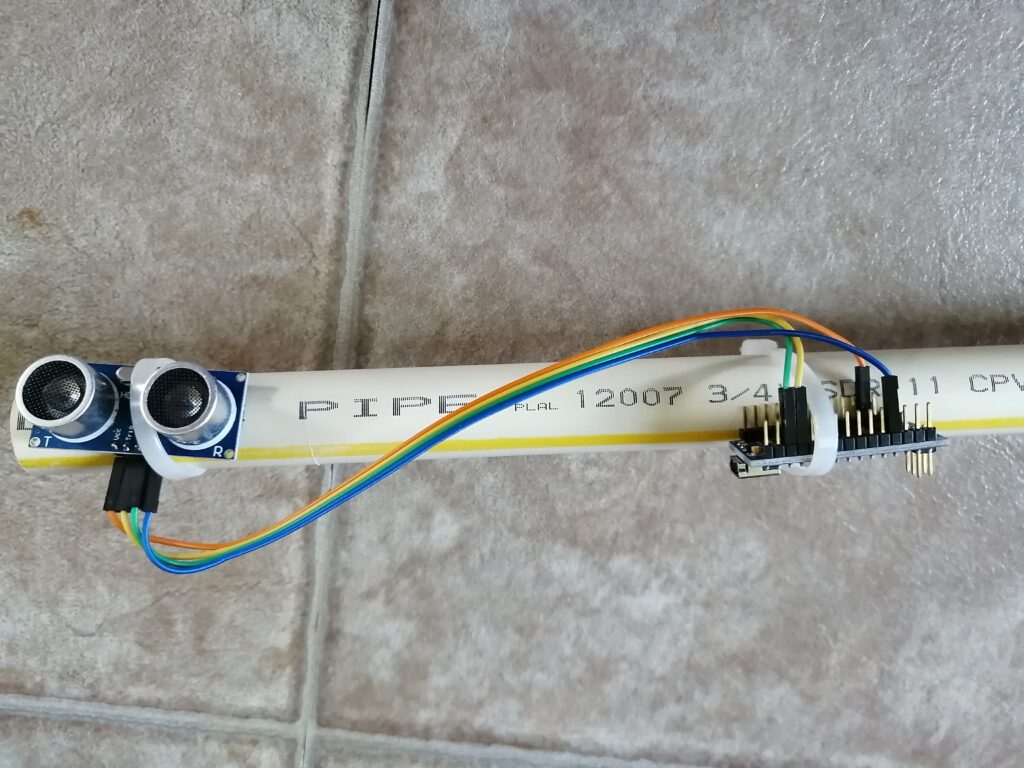
| Ultrasonic Sensor | Arduino |
| VCC | 5V |
| GND | GND |
| Trig | D9 |
| Echo | D10 |
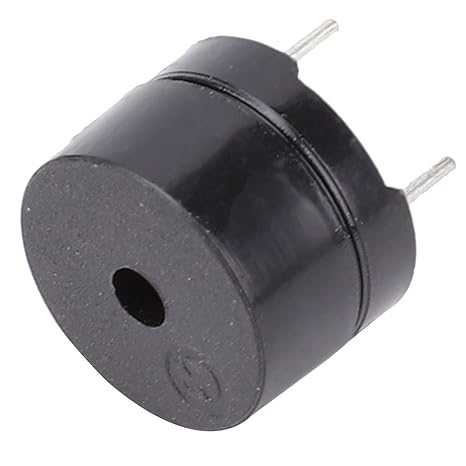
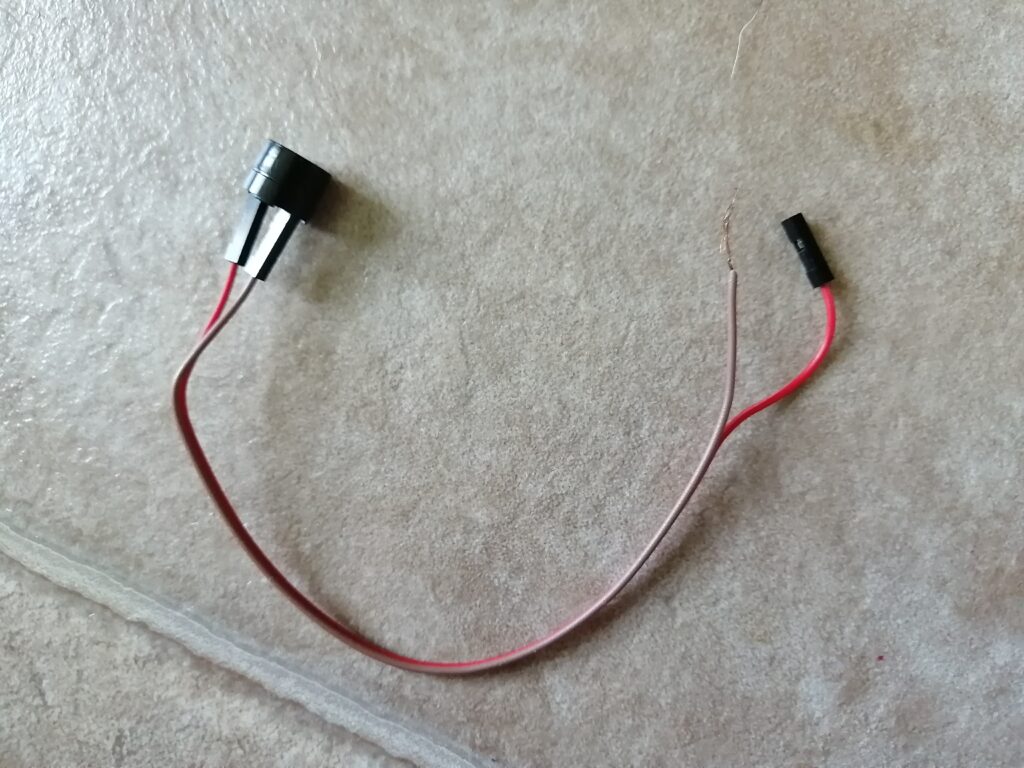
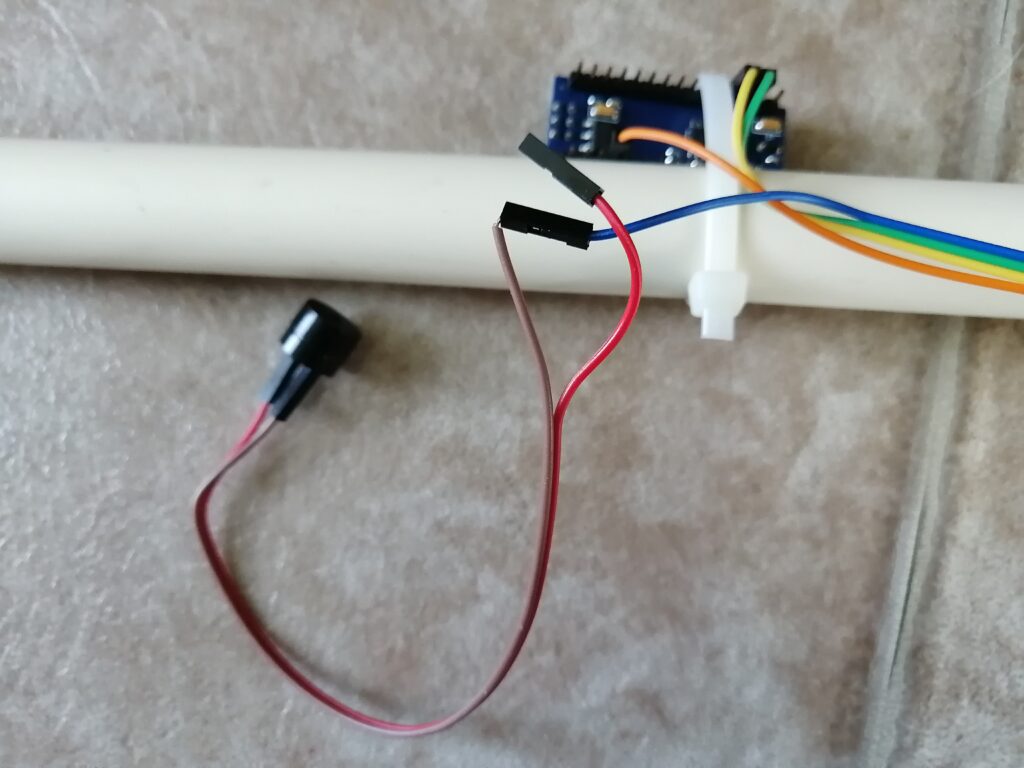
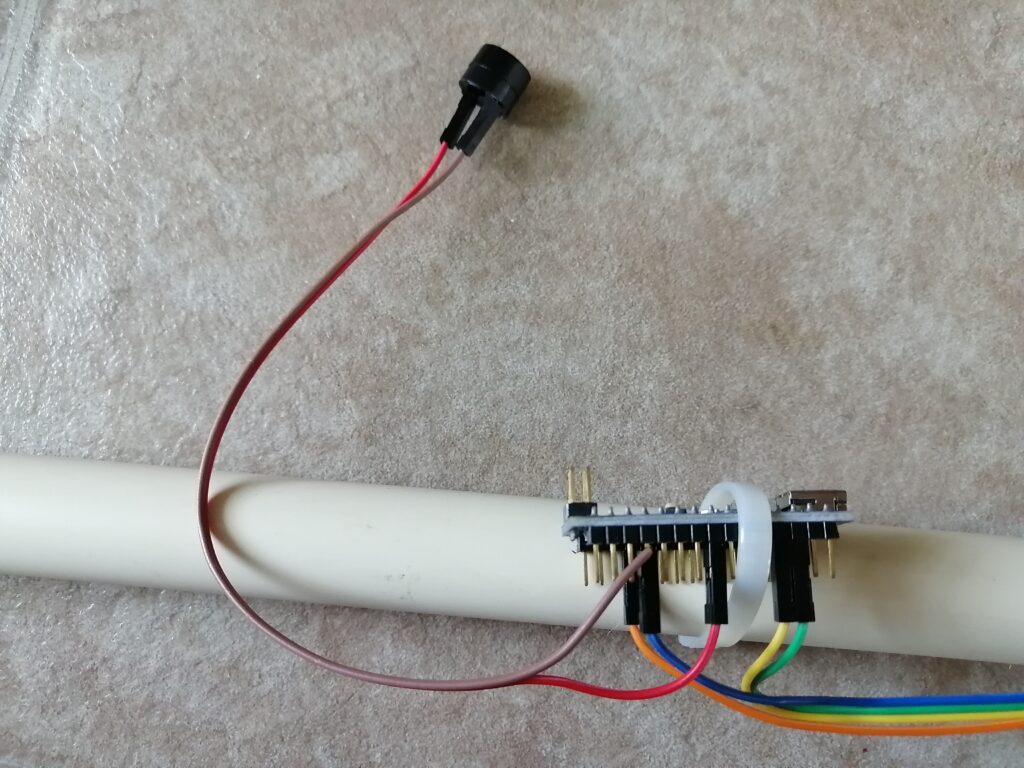
| Buzzer | Arduino |
| Negative terminal | GND |
| Positive terminal | D5 |
The buzzer and ultrasonic sensor are connected to the same GND pin.
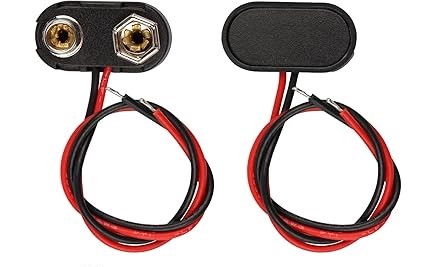
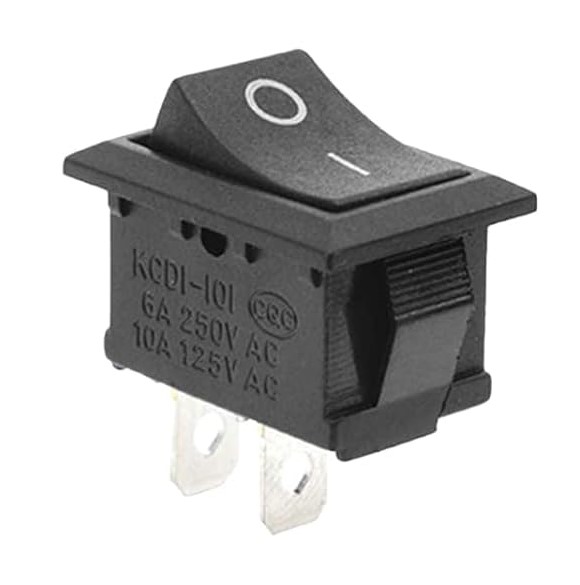
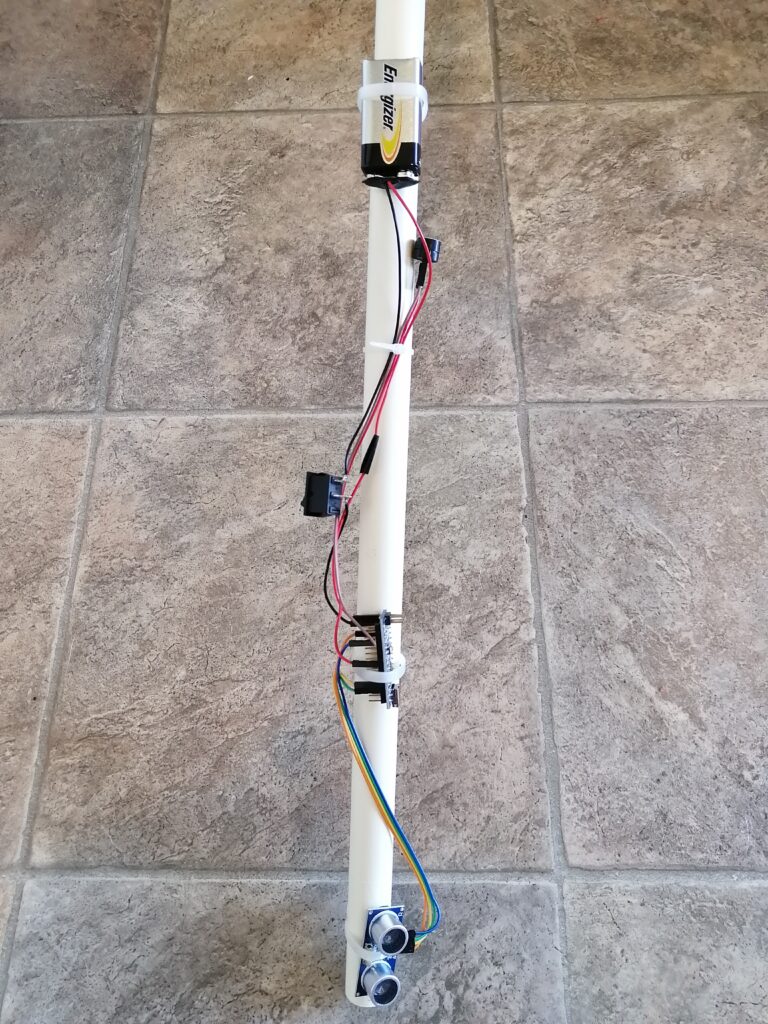
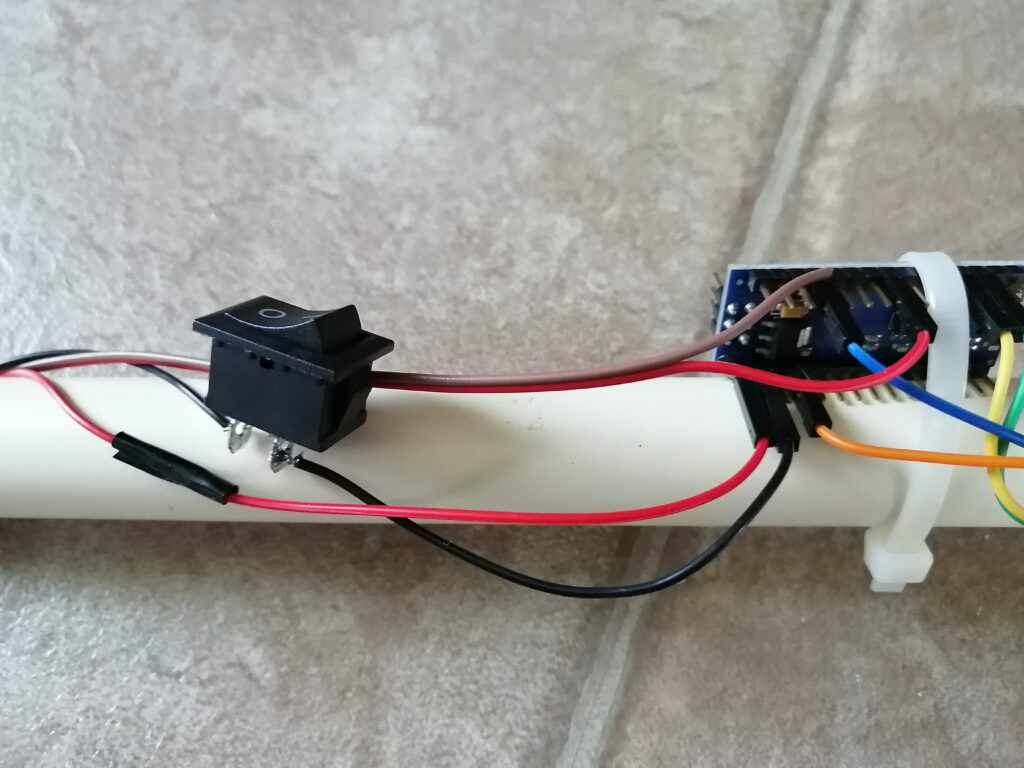
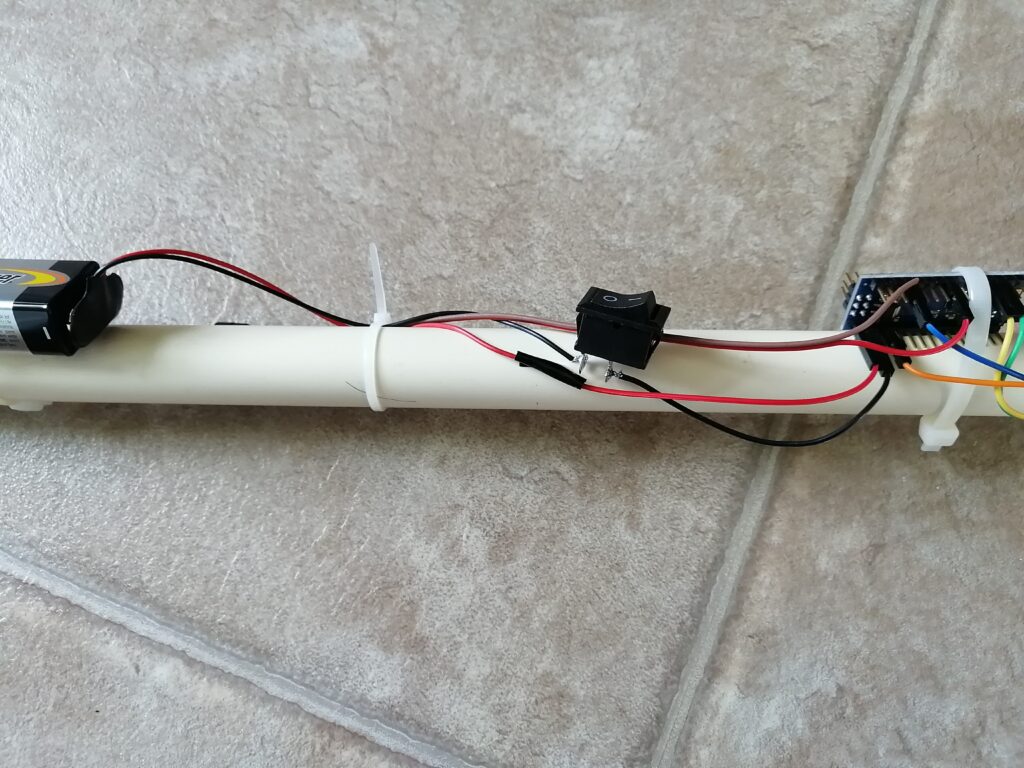
Connect the switch, battery connector, and jumper wires as illustrated in the photo.
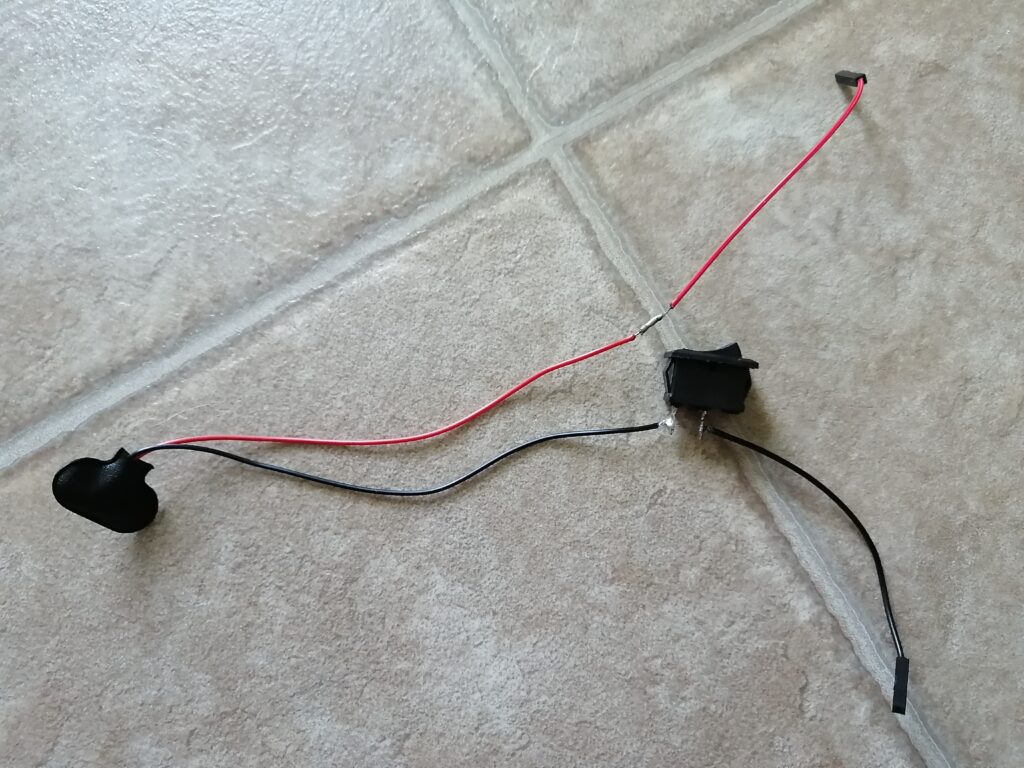
| Battery | Arduino |
| Negative terminal | GND |
| Positive terminal | Vin |
The Trig pin is set to a HIGH state, triggering the ultrasonic transmitter to emit a sound wave. At the same time, the Echo pin also goes HIGH, beginning to wait for the reflected wave. Once the sound wave bounces off an object and returns, the travel time is recorded. Using this time, the distance to the object is calculated with a specific formula. If the calculated distance falls within a defined range, the buzzer is activated to sound an alarm.
// defines pins numbers
const int trigPin = 9;
const int echoPin = 10;
const int buzzer = 5;

// defines variables
long duration;
int distance;
int safetyDistance;

void setup() {
pinMode(trigPin, OUTPUT); // Sets the trigPin as an Output
pinMode(echoPin, INPUT); // Sets the echoPin as an Input
pinMode(buzzer, OUTPUT);
}

void loop() {
// Clears the trigPin
digitalWrite(trigPin, LOW);
delayMicroseconds(2);

// Sets the trigPin on HIGH state for 10 micro seconds
digitalWrite(trigPin, HIGH);
delayMicroseconds(10);
digitalWrite(trigPin, LOW);

// Reads the echoPin, returns the sound wave travel time in microseconds
duration = pulseIn(echoPin, HIGH);

// Calculating the distance
distance= duration*0.034/2;

safetyDistance = distance;
if (safetyDistance <= 5){
  digitalWrite(buzzer, HIGH);
}
else{
  digitalWrite(buzzer, LOW);
}pulseIn()Reads a pulse (either HIGH or LOW) on a pin. For example, if value is HIGH, pulseIn() waits for the pin to go from LOW to HIGH, starts timing, then waits for the pin to go LOW and stops timing. Returns the length of the pulse in microseconds or gives up and returns 0 if no complete pulse was received within the timeout.